Im Februar feiern wir hier Liebe und Freundschaft, Selbstliebe, Katzenliebe … auf dieser Seite wenigstens. Nachdem meine zarte Lavendelseife wundervoll zart grün geworden ist möchte ich doch noch ein wenig rote Farbe in meine Februar DIYs bringen, da liegt eine pflegende Lippenbutter nicht fern.
Ich habe bereits einmal einen Lippenbalsam gemacht, auch mit Honig – und finde ihn wunderbar. Hier das Youtube-Video, dem ich ausnahmsweise ziemlich genau gefolgt bin (abgesehen von der Verwendung von Mikrowelle – im Wasserrbad erwärmen ist VIEL schonender für die Inhaltsstoffe)!
https://www.youtube.com/watch?v=SSfYvSAgZmI&t=220s
Bees&Bikinis verwendet ein geniales und extrem einfaches Rezept: eine Mischung von einem Teil Bienenwachs, einem Teil Kokosöl und einem Teil Olivenöl und ein bisschen Honig, sowie Vitamin E. Es ist perfekt! Heute möchte ich allerdings eine etwas raffiniertere Variante probieren.
Lippenbalsam oder Lippenbutter?
Ich verwende das Wort Lippenbalsam da es im Deutschen gebräuchlicher ist, durch die Zugabe von Kakaobutter und Sheabutter könnte ich auch von einer “Lippenbutter” sprechen.
Ein gesunder selbstgemachter Lippenbalsam für wenig Geld
Es ist erstaunlich wieviele Lippenprodukte zumindest fragwürdige Inhaltsstoffe haben. Immerhin tragen wir das Produkt auf den Lippen, das heißt, wir nehmen auch immer einen Teil über den Mund ein.
Für mich absolut unverständlich und richtig ärgerlich ist, wie viel Geld Firmen in der Regel für ihre natürlichen Lippenprodukte verlangen. Dabei ist es ziemlich einfach, Lippenbutter selber herzustellen.
Im Gegensatz zur Seife wo chemischer Prozesse ablaufen und die Stoffe genau aufeinander abgestimmt sein müssen, ist das Herstellen einer Lippenbutter nicht schwer und man hat dadurch die Kontrolle über sämtliche Inhaltsstoffe.
Als Bonus kann man so einfach ein kleines Geschenk herstellen, das besonders im Winter für jeden und jede geeignet ist! 🥰
Wähle die Zutaten, die DU willst
Man kann bei der Auswahl der Zutaten ganz nach persönlichen Vorlieben, nach dem was man gerade im Haus hat oder nach Überempfindlichkeiten bzw, Allergien vorgehen. Das Ersetzen eines Öls oder eines Wachses durch ein anderes hat vielleicht Auswirkungen auf die Konsistenz des fertigen Balsams, aber er bleibt funktionsfähig und ungiftig. Alle Zusatzstoffe (Honig, Pfefferminzöl, Vitamin E Öl) können selbstverständlich weggelassen werden.
Zutaten
Wenn der Balsam am Ende zu weich ist, kann man ihn erneut schmelzen und den Anteil des Wachses erhöhen, wenn er zu hart ist, den Anteil an flüssigem Öl.
- Zunächst möchte ich meiner Butter etwas Süße von Honig verleihen. Honig hat antibakterielle Eigenschaften, er pflegt, beruhigt und zieht Feuchtigkeit an.
- Kakaobutter riecht wahnsinnig gut: wie die beste Schokolade! Sie unterstützt außerdem das Bienenwachs beim Bilden eines Schutzfilms für empfindliche Lippen.
- Sheabutter ist sehr pflegend und gibt eine etwas cremige Konsistenz.
- Ein leichter Kokosgeruch ist zumindest für mich sehr ansprechend, die glättenden und glänzenden Eigenschaften des Kokosöls machen es außerdem für eine Lippenbutter besonders geeignet.
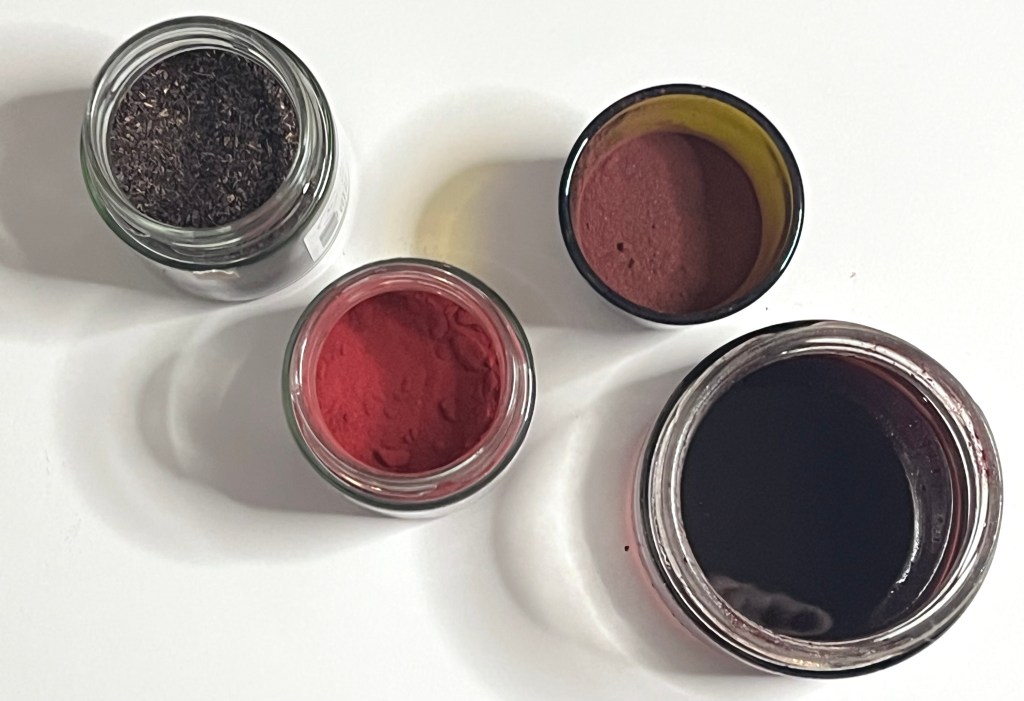
- Außerdem möchte ich rote Farbe durch Pflanzen-Pulver hinzufügen. Dies wird mittels eines “Mazerats” gemacht: Man setzt das Pulver mit einem Öl an, entweder warm (bis ca. 50 Grad) oder kalt. Die warme Methode ist nach ein paar Stunden fertig, die kalte Methode nach ein paar Wochen.
- Ich werde pflegendes und sanftes Mandelöl als flüssige Komponente für die Herstellung des Mazerats verwenden.
- Rizinusöl gebe ich ebenfalls dazu, vor allem weil Rizinusöl pur schon ein bisschen wie ein Lipgloss wirkt, glänzend und zähflüssig, außerdem wirkt es aufpolsternd.
- Ätherisches Pfefferminzöl für den Geschmack.
- Vitamin E Öl macht einerseits die Butter haltbarer, andererseits hat sie auch antioxitative Wirkung für die Haut.
Rezept:
- Shea Butter, raffiniert: 5g
- Kakaobutter 5g
- Kokosöl: 7g,
- Rizinusöl 3g
- Mandelöl: 10g (mit Rote Beete, Hibiskus und Alkanawurzel mazeriert)
- Bienenwachs, naturbelassen: 10g
- 1g Honig
- 10 Tropfen Vitamin E
- 3 Tropfen Pfefferminzöl für den Geschmack (kann ohne weiteres weggelassen werden)
Schritt für Schritt Anleitung:
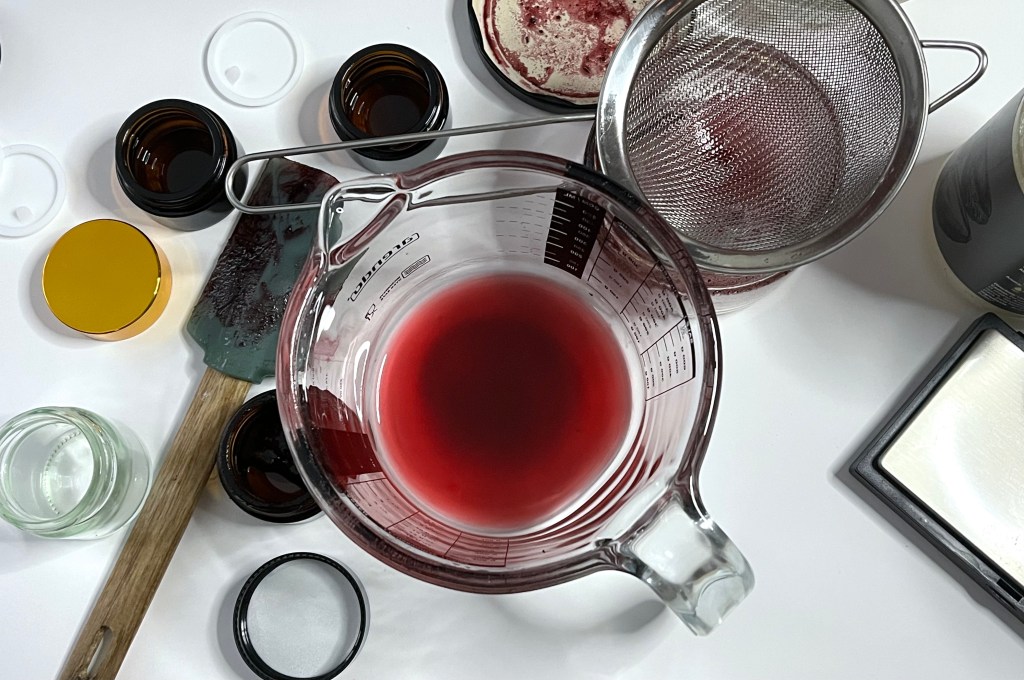
1. Ich setze das 30g Mandelöl mit 4g Rote Beete-, 2g Hibiskuspulver und 0,5g Alkanawurzeln an. Ich stelle es mit dem Öl für mehrere Stunden in ein warmes Wasserbad, auf niedriger Stufe und lasse es daraufhin über Nacht stehen.
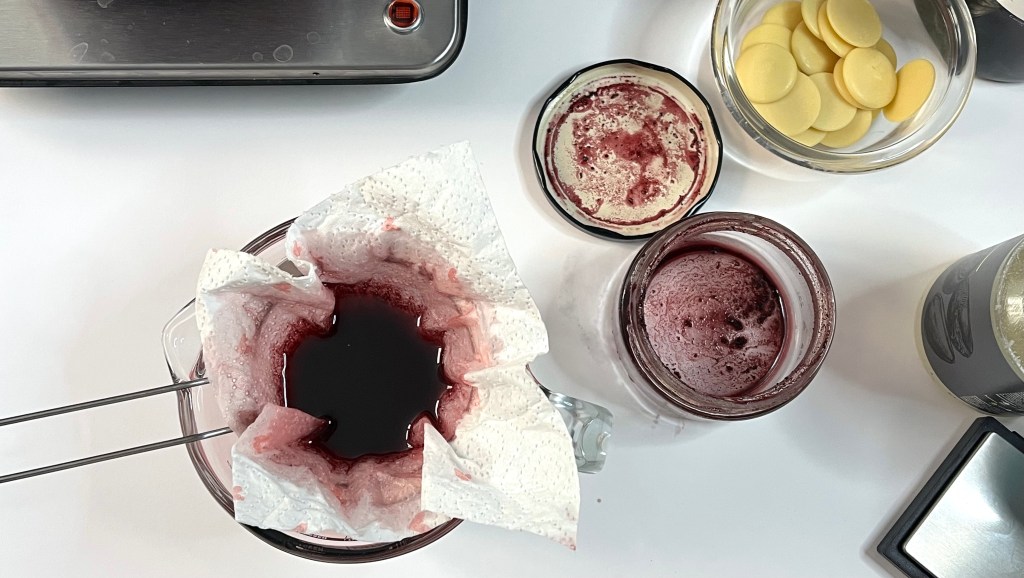
2. Am nächsten Tag filtere ich das Öl durch ein Küchenpapier und ein feinmaschiges Sieb.
3. Als nächstes stelle ich einen Wassertopf auf niedriger Stufe auf und gebe einen Glasbehälter hinein in dem ich das Bienenwachs zuerst schmelze.
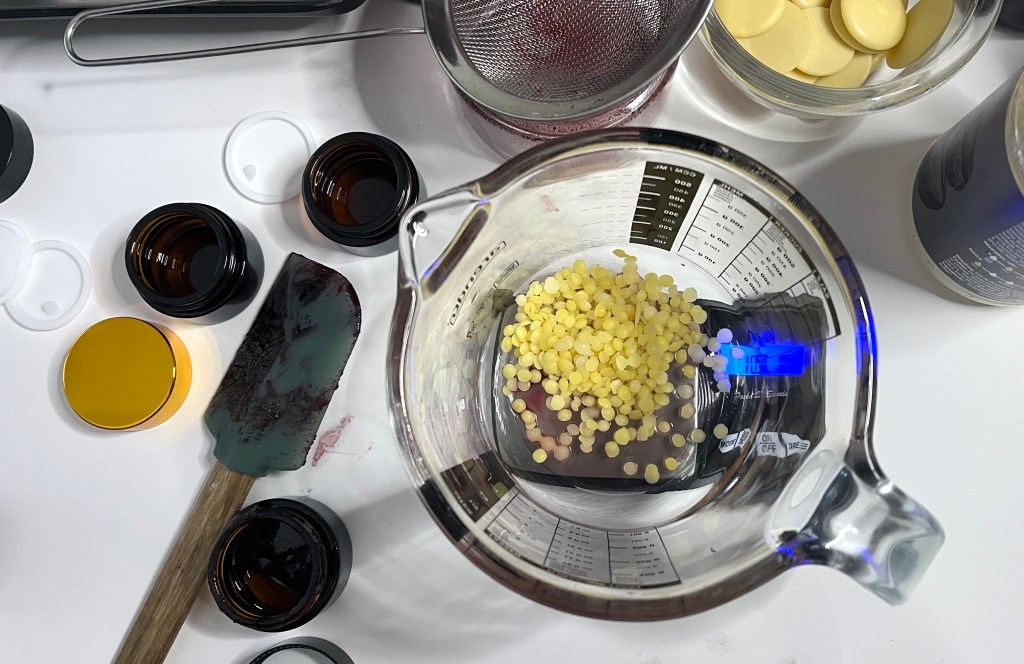
4. Wenn das Wachs angeschmolzen ist schalte ich die Platte aus und füge das Kokosöl und die Sheabutter hinzu und lasse sie unter Rühren schmelzen.

5. Als letztes füge das mazerierte Mandelöl mit etwas Castoröl hinzu. Ihr seht wie das Öl sofort das Wachs hart werden lässt, also immer gut weiterrühren bis alles gleichmäßig flüssig ist.
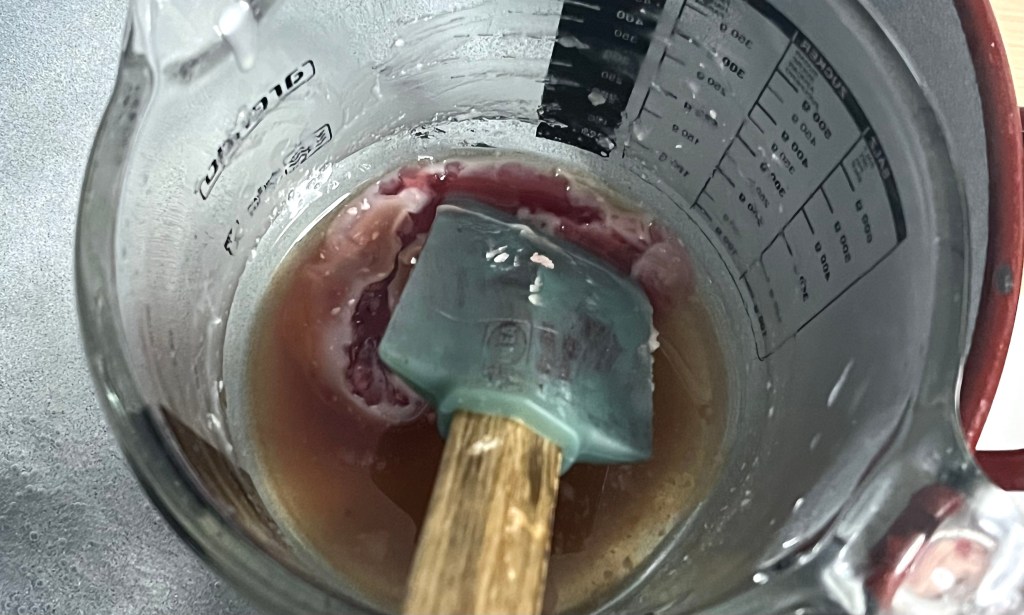
6. Dann nehme ich den Messbecher aus dem Topf und bevor das Wachs wieder hart wird füge ich die Vitamin E Tropfen und Honig hinzu. Das muss schnell gehen daher gibt’s auch kein Foto!
7. Anschließend gieße ich die Butter in kleine Gläser und lasse sie fest werden.
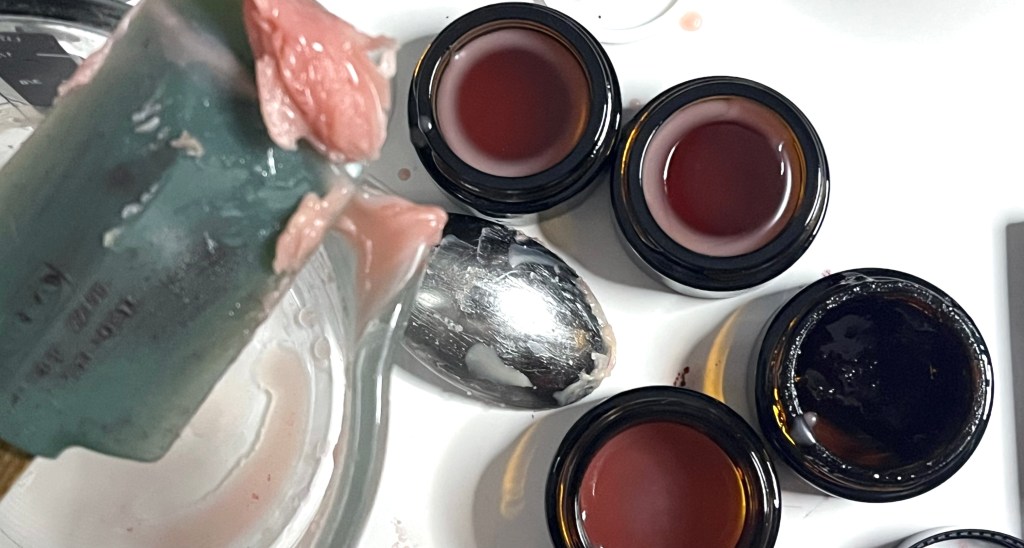
8. Zum Schluss putze ich den Messbecher noch gut mit dem Teigschaber aus, damit nichts von der Lippenbutter verloren geht, zwischen den beiden Bildern liegen etwa 5 Minuten.
Fertig! ❤️
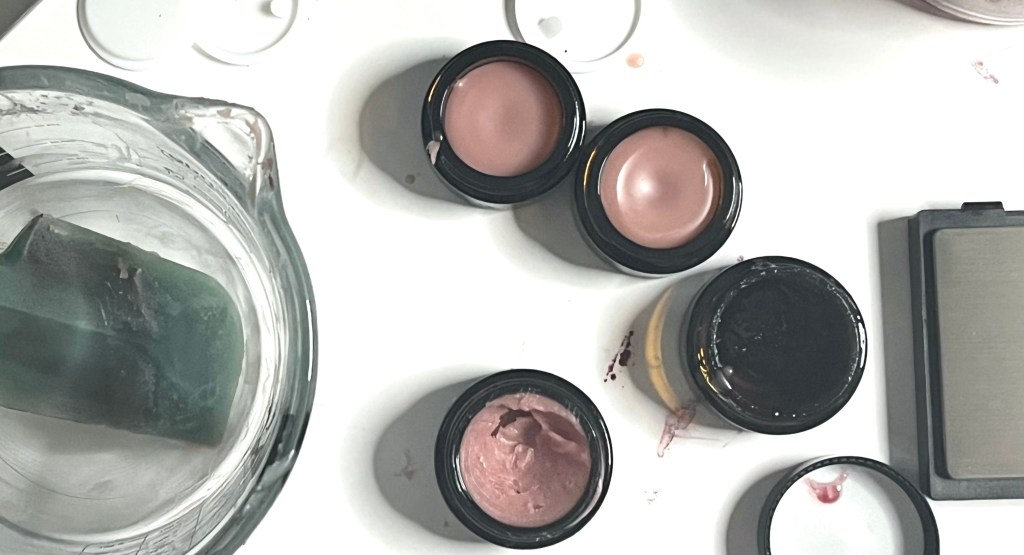
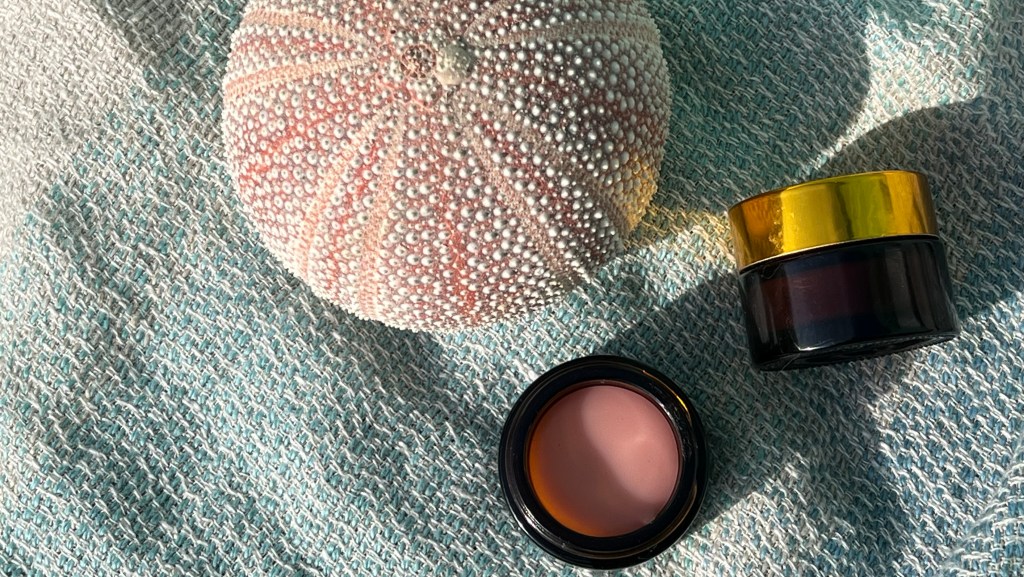
Das Ergebnis
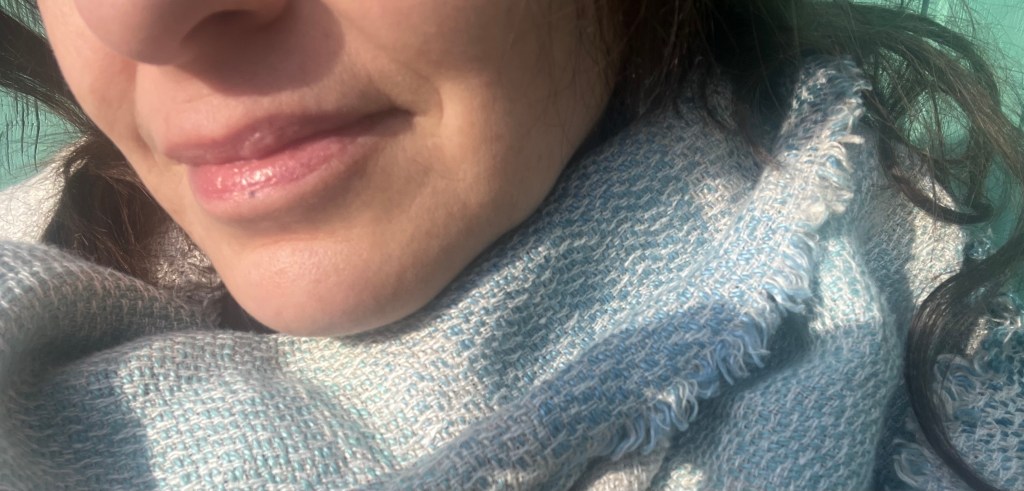
Die Farbe ist schön, allerdings sieht man sie kaum auf den Lippen. Um eine wirkliche Lippenfarbe zu bekommen, muss man die gefärbten Bestandteile erhhöhen. Man kann auch das Öl doppelt mazerieren, also filtern und noch einmal mit den Pflanzenfarben ansetzen.
Der Balsam ist weich, schön glänzend und sehr pflegend, man hat auch Stunden nach dem Auftrag weiche und glatte Lippen.
Er schmeckt leicht süß, die Pfefferminze allerdings schmecke ich kaum, wenn man mehr Geschmack und vielleicht sogar eine kühlende Wirkung möchte muss man etwas mehr ätherisches Öl verwenden.
I hoffe dir gefällt dieses kleine Kosmetik-DIY so gut wie mir.
Ich finde es super praktisch und einfach, Lip-liner werde ich wohl noch ab und zu kaufen (seufz), aber auf gekauften Balsam oder Lipbutter kann ich in Zukunft verzichten. Außerdem eignet sich der selbstgemachte Lippenbalsam perfekt für ein kleines nachhaltiges Geschenk!
Hast du Erfahrung über natürliche Farbmittel? Ich möchte mich noch weiter damit auseinandersetzen und vermutlich auch Erdfarben ausprobieren, vielleicht als ein Lippenöl.
Welche DIYs würdest du gerne noch sehen? Hinterlasse mir gerne einen Kommentar und like meinen Beitrag, das fände ich unglaublich super!
Bis zum nächsten Mal! 🥰
DIY: Making a sweet tinted Lipbutter
In February, we celebrate love and friendship, self-love and cat love … at least in this blog. After my delicate lavender soap turned a beautiful soft green, I feel the need to bring some red into my February DIYs—what better way than with a nourishing tinted lipbutter?
I’ve made a lip balm before, also with honey, and I absolutely loved it. Here’s the YouTube video I followed quite closely (except for using the microwave—I prefer a gentle water bath to preserve the ingredients!):
https://www.youtube.com/watch?v=SSfYvSAgZmI&t=220s
The recipe in the video is brilliant and incredibly simple: a mix of one part beeswax, one part coconut oil, one part olive oil, plus a bit of honey and vitamin E. It’s perfect!
Today, I want to try a slightly more refined version.
Lip balm or lip butter?
I use the term “lip balm” as it is more common in German. However, due to the addition of cocoa butter and shea butter, I could also call it a “lip butter.”
A Healthy, Homemade Lipbutter for Little Money
It’s astonishing how many lip products contain at least questionable ingredients. After all, we apply them directly to our lips, meaning we inevitably ingest some of the product. What I find absolutely baffling—and quite frustrating—is how much companies charge for their so-called “natural” lip balms, lip oils, and lip butters.
In reality, making your own lip butter is quite simple. Unlike soap-making, which involves complex chemical processes and multiple ingredients, crafting a lip butter is straightforward and you have complete control over every single ingredient.
When it comes to choosing butter, wax, and oil, there are plenty of options. Most have valuable skincare properties, so ultimately, it comes down to personal preference.
My Ingredients
You can choose the ingredients according to your personal preferences or sensitivities/allergies. Replacing one oil (or one wax) with another may affect the consistency of the final butter/balm, but it will still be functional and safe to use. All additives can be omitted.
You can’t go wrong!
If it turns out too soft, you can melt it again and increase the amount of beeswax. If it’s too hard, you can add more liquid oil.
- First, I want to add a touch of sweetness with honey. Honey has antibacterial properties, nourishes, soothes, and helps attract moisture.
- Cocoa butter smells absolutely amazing—just like the finest chocolate! It also supports beeswax in forming a protective barrier for sensitive lips.
- Shea butter is deeply nourishing and adds a creamy texture.
- A hint of coconut scent is something I personally love. Plus, coconut oil’s smoothing and glossy properties make it an excellent addition to a lip butter.
- I also want to incorporate a natural red tint using plant powders. This is done through a maceration process, where the powder is infused in oil—either using a warm method (around 50°C for a few hours) or a cold method (letting it sit for a few weeks).
- For the liquid component of the maceration, I’ll be using gentle and nourishing almond oil.
- I’m adding castor oil, mainly because it has a natural lip-gloss effect—shiny and slightly thick. Plus, it gives the lips a subtle plumping effect.
- For a refreshing touch, I’ll include peppermint essential oil for its delightful taste.
- Vitamin E oil helps to improve the shelf life of your butter, but also has benefits for your skin.
Recipe:
- Refined Shea Butter: 5g
- Cocoa Butter: 5g
- Coconut Oil: 8g
- Castor Oil: 2g
- Almond Oil: 10g (infused with beetroot, hibiscus, and alkanet root)
- Natural Beeswax: 10g
- Honey: 1g
- 10 drops of Vitamin E
- 3 drops of peppermint oil for flavor
Step-by-Step Instructions:
1. Prepare the almond oil by macerating it with 4g beetroot powder, 2g hibiscus powder, and up to 0,5g Alkanaroot. Place the mixture in a warm water bath on low heat for several hours, then let it sit overnight.
2. The next day, strain the oil through a fine mesh sieve and a paper towel.
3. In a pot over low heat, place a glass container and first melt the beeswax.
4. Once the wax is partially melted, add the coconut oil and shea butter, and stir until everything is fully melted.
5. Finally, add the macerated almond oil and keep stirring.
6. Take the beaker from the warm water and keep stirring, before the wax solidifies, stir in the Vitamin E drops for preservation and the honey for its antioxidant and nourishing properties.
7. Pour the lip butter into small jars and let it set.
8. Finally, I thoroughly scrape out the measuring cup with a spatula to make sure none of the lip butter goes to waste. There’s about a five-minute difference between the two pictures.

Done! ❤️
The Result
The color is nice, but it’s barely visible on the lips. To achieve more of a lip tint, you’d need to increase the amount of colored ingredients. Another option is to double-infuse the oil—filter it and infuse it again with the plant powders.
The balm has a lovely shine and feels very nourishing. Even after a few hours my lips still feel soft. There is a slight sweetness, but I can hardly taste the peppermint.
I hope you like this little cosmetic DIY as much as I do! I find it super practical and easy. I might still buy lip liners from time to time (sigh), but I can definitely skip store-bought balms or butters in the future. Plus, homemade lip balm makes a perfect little sustainable gift!
Do you have experiences with colorants – either plant based or otherwise? I’d really like to explore this further, maybe making a lipoil the next time.
What DIYs would you like to see next? Feel free to leave me a comment and like this post—I’d really appreciate it!
See you next time! 🥰

Leave a comment